Basic UI Layout
In this tutorial, we will take one of the old tk2dUI non-layout components and make it fully layout compatible.
Follow instructions in 'Setting up UI' tutorial. Make sure you have a non-layout basic button in the view.
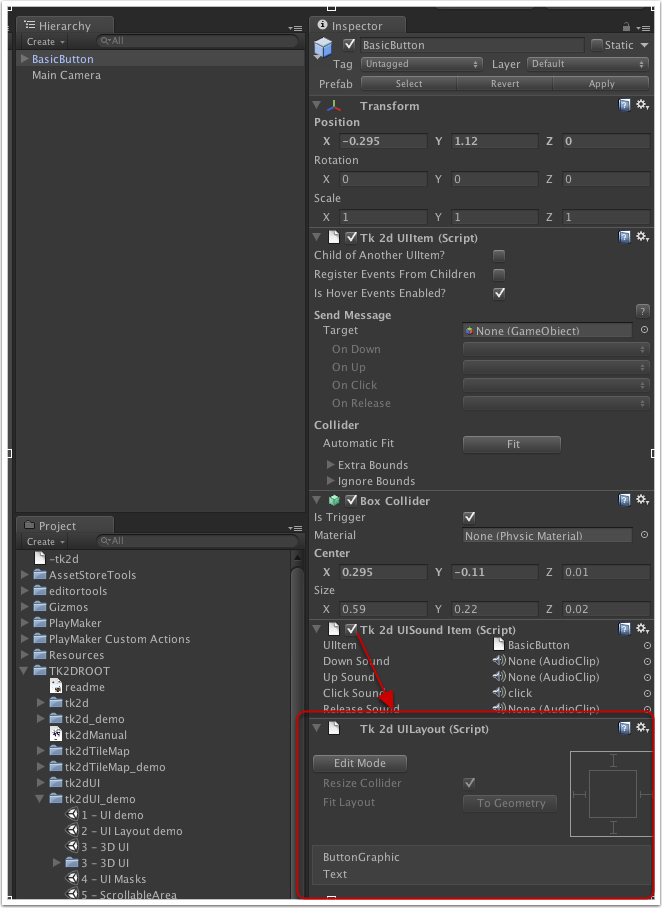
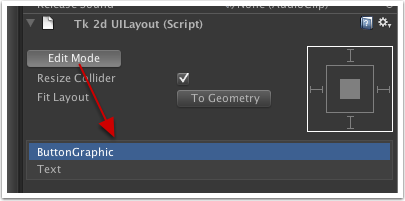
Add a tk2DUILayout script to this button. You can do this by searching for the component in Unity 4.x, or simply adding it from the "Component > 2D Toolkit > UI > Core > tk2dUILayout" menu in Unity. Once you've added the UILayout script, your hierarchy should look like this.
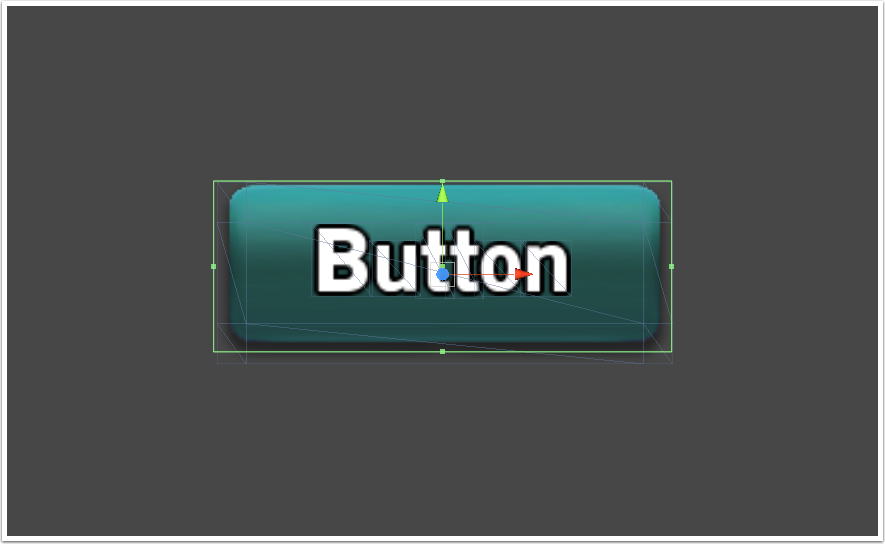
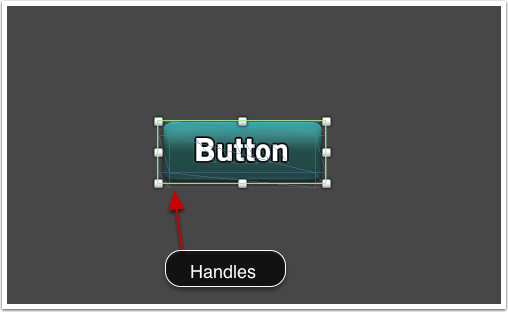
Note the handles that have now appeared around the button. Don't move them yet, as we haven't configured it properly.
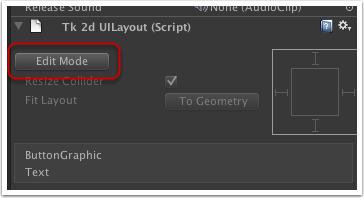
We will now need to tell the component how to behave when it is resized. Go into Edit Mode by clicking the button.
We will now select each child object and tell it how to resize itself when the component is resized. Begin by selecting "ButtonGraphic" in the list below.
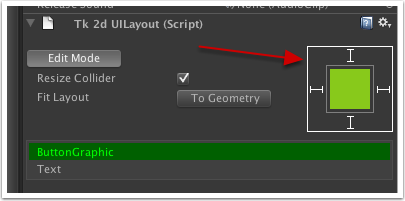
We want the button graphic to resize with layout object. Simply click on all 4 edges as shown below. The green helper shows you how the object will be resized, in this case it will resize to maintain the same distance from all 4 edges of the controller.
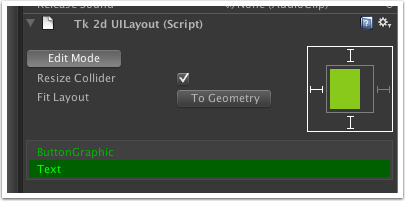
To make things a little more interesting, we are going to configure the text object slightly differently. In this example, we're going to make it stick to the middle left. Set it up as shown below.
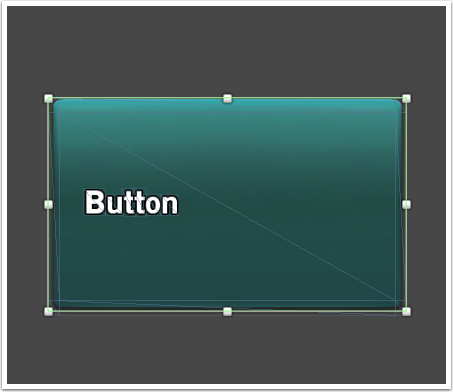
Thats the layout configured for this button! Lets test it. Click on the Edit Mode button to get out of Edit Mode. You can now resize the button in scene view by dragging the handles. Notice how the button background fills the space of your layout object, but the text sticks to the middle left.
We've made a whole new set of UI prefabs pre-configured with the layout component. You can find them TK2DROOT/tk2dUI_demo/ControlPrefabs/Layout. Also check out sample #2 - UI Layout demo for a more thorough example of what is possible with the system.